


Getting Started with Resin 3D Printing
Resin 3D printing opens doors to highly detailed, smooth prints perfect for miniatures, dental models, and engineering prototypes. This beginner-friendly guide will walk you through everything you need to start printing safely and successfully.
1. Setting Up Your Workspace
-
Choose a well-ventilated area with good lighting
-
Use a level, stable table covered with disposable sheets
-
Keep nitrile gloves, paper towels, IPA, and a resin-safe trash bin nearby
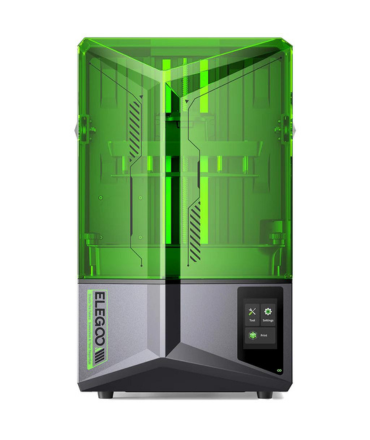
2. Unboxing Your Printer
-
Follow manufacturer’s manual (Elegoo, Anycubic, or Phrozen)
-
Remove all packaging, install the build plate and resin vat
-
Check that all parts are secured properly
3. Leveling the Build Plate
-
Use the provided leveling paper and follow the leveling procedure
-
Ensure the plate is snug but not overly tight
4. Safety Tips
-
Always wear gloves when handling uncured resin
-
Avoid direct skin contact and use goggles when needed
-
Wash hands and tools thoroughly after use
5. First Print Workflow
-
Slice your model with Chitubox or Lychee
-
Pour resin into the vat (not more than half full)
-
Start the print, monitor the first few layers
6. Post-Processing
-
Rinse prints in IPA or water (for water-washable resin)
-
Cure with UV light for recommended time
-
Remove supports carefully and sand if needed